Make Your Own Slime in 12 Steps - PLUS 5 best types of slime
Who doesn’t love slime? Well, parents, maybe!
But did you know you can make simple, mess-free slime in minutes?
That’s right! Kids love getting stuck in with sticky slime. It’s so easy to keep them entertained for ages, without having to do too much cleaning up afterwards.
You can even add creepy crawlies or other accessories to your children’s slime. Then, challenge them to stretch, flatten, and knead their way through to reveal the toy hidden within.
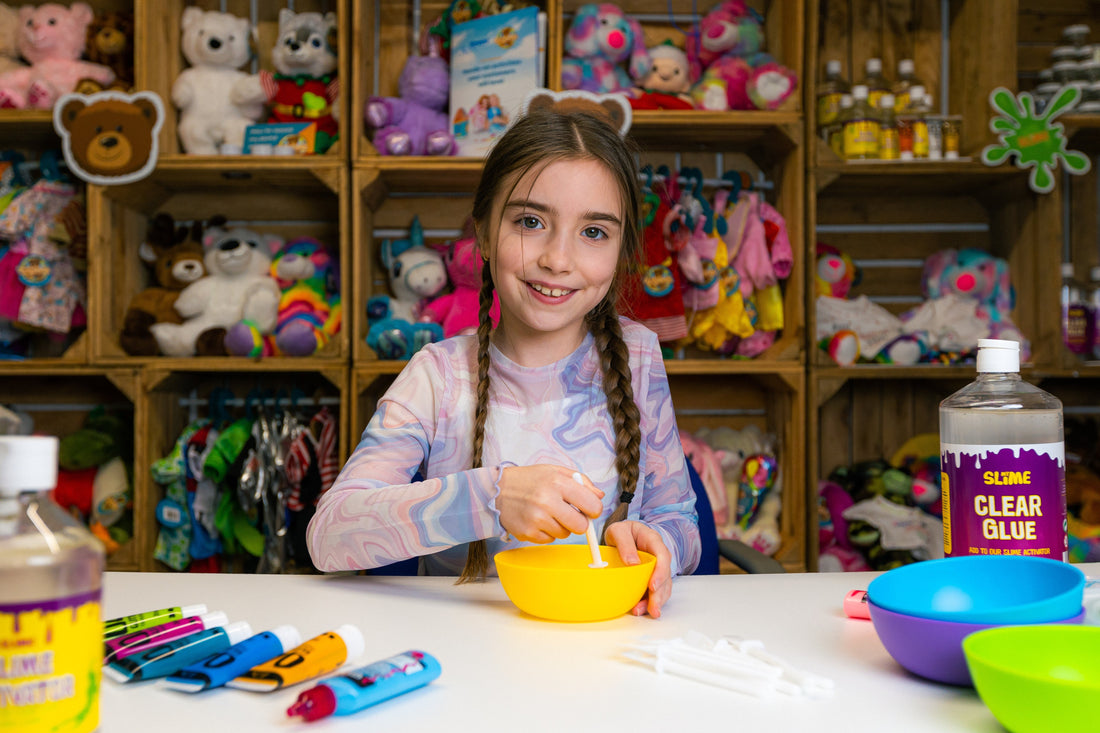
Here’s what you need to get started:
- Slime Pot or a small bowl
- A bottle of Slime Activator
- Clear glue
- Coloured Paint
- Foam clay
- A glue spreader
- Plus lots of accessories - such as sequins, gems, glitter, creepy-crawly inserts or butterfly inserts (browse more on our website)
- Fill the pot up to around three quarters with clear glue.
- Add three squeezes of slime activator.
- Use your glue spreader to stir the mix together for a couple of minutes, binding the ingredients to make the base for your super slime.
- If your mixture looks too runny, add a couple more drops of slime activator and mix to get a thicker consistency.
- Next, add two drops of your chosen paint to add some colour, before mixing it in. You can add more paint if you feel you need to.
- Keep mixing your slime until it is stretchy enough to come away from the Slime Pot cleanly in one big piece.
- Take the slime out of the pot to knead it with your hands for up to two minutes.
- Add a big pinch of clay foam, to give your slime a satisfying bubbly texture.
- Massage the foam into the slime, kneading the mixture until the clay foam is spread throughout.
- Now, it’s time to get really creative, by adding all sorts of accessories. Take a pinch of sequins or gems and knead them into your slime to add texture and colour to your slime.
- Once you’re happy with your accessories, put the slime back into the Slime Pot.
- Then, add a butterfly or creepy-crawly insert to mix into the slime. Kids love digging through the slime to reveal the friendly creatures within!
Now you’ve finished making your slime, the sky’s the limit when it comes to awesome accessories you can mix in! Browse the full range on our website.
Why not mix two colours or types of slime together, to make a super special slime sensation?
Types of slime
Don’t just *stick* to one kind of slime! Get even more creative with these slime-tastic styles.
1. Bingsu Slime
Named after a popular Korean shaved ice dessert, Bingsu slime is crunchy and crispy in texture. It makes crinkly sounds as you squish and stretch it.
To make your slime Bingsu-style, simply add sparkly sequins or colourful beads to your normal slime mix.
2. Kinetic sand (sandy slime)
Neon paints, glitter paints. Can add coloured sand for texture - or even glitter sand.
Kids can make their own unique slime creations, letting their imaginations run wild.
Pretend they’re scientists developing magnificent slime.
3. Clear slime
Simply take some clear glue and activator to make clear slime. It’s the same process as regular slime, just without the paint! Instead, add glitter and inclusions for some see-through slime fun.
4. Glow in the dark slime
Add just two droplets of amazing glow in the dark paint to your slime mix. Switch off the lights and watch the magic happen!
Order your glow in the dark paint from My Slime.
5. Seasonal slime
For a little festive fun, simply mix in some Christmas confetti with your slime. Use red or green paint to give your slime a merry colour, before adding your extras!
But remember, slime isn’t just for Christmas…
You can add a spooky Halloween vibe, by mixing in some creepy confetti. My Slime has all the terrific tools you need in the Halloween slime activity bundle - including green paint and orange foam clay.
It’s un-BOO-lievable fun!
Add even more fun with My Slime’s range of “inclusions”. These are small toys which you can hide in slime, such as mini footballs, tiny unicorns and dinosaurs.
At Easter, you can even hide a little carrot for you and your new Teddy Tastic bunny pal to find!
How to make slime activator
You can make your own slime activator in a bowl using baking soda and contact solution containing boric acid. Then, you transfer the mix to a reusable container.
But for a mess-free and stress-free solution, you can just buy a bottle of professionally-made slime activator from My Slime for only £4.99.
The other big perk of buying from My Slime is we supply all the pots you need!
When you put the lid on, it’s sealed like brand new. That means the slime lasts longer. With an air-tight seal around it, children can crack open the pot, play with the mess-free slime and put it away to enjoy later.
It also means the kids can’t open their slime until their parents say so, stopping mess from getting in the car or on clothes!
So, what are you waiting for? Get your order in and get sliming!